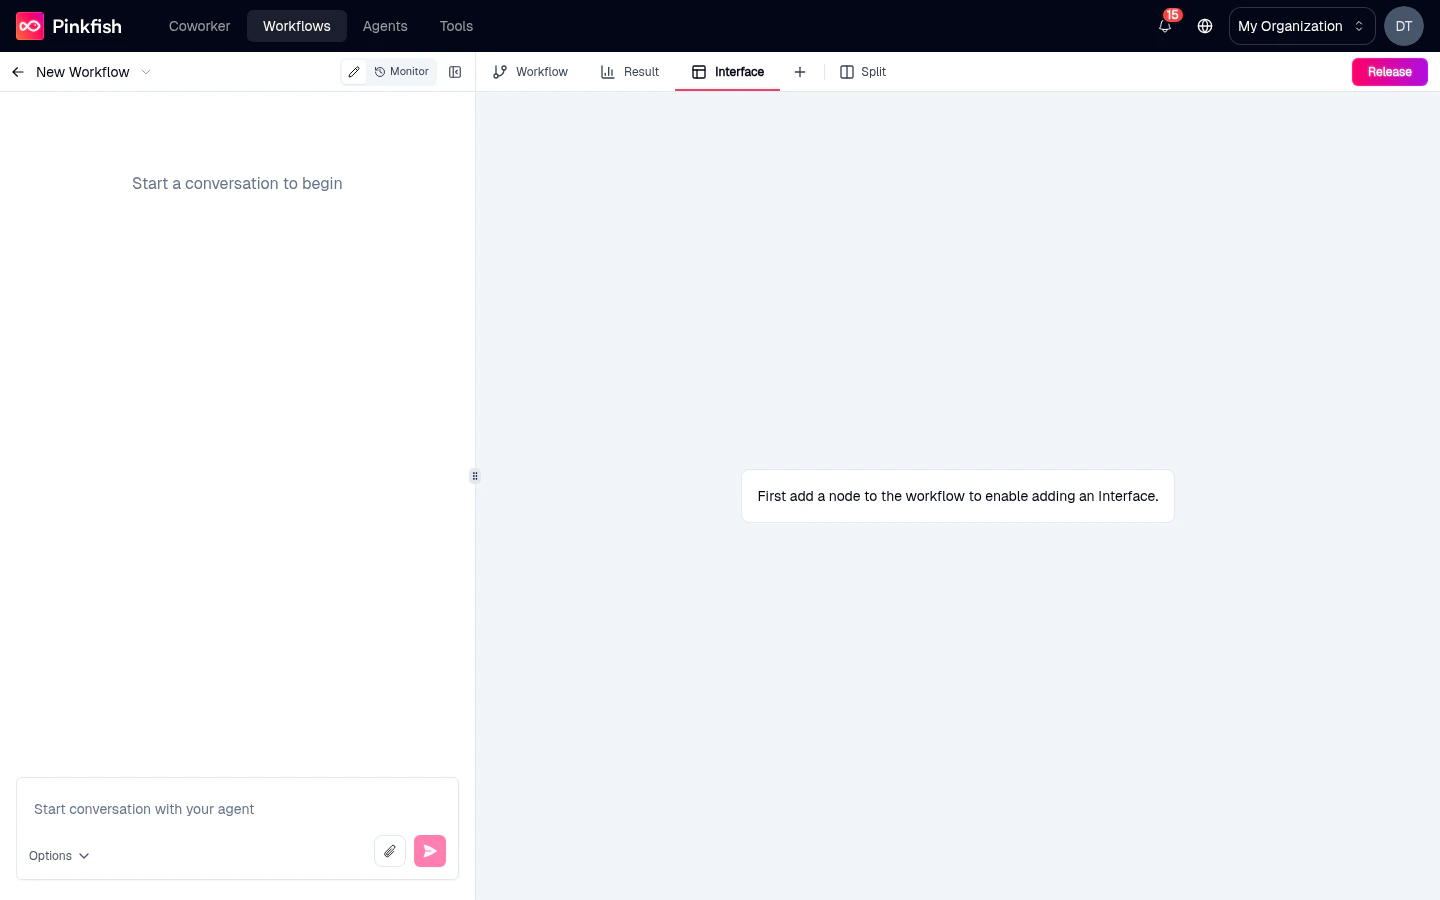
Before adding an Interface, your workflow needs at least one executable node. A brand-new workflow with only the Manual trigger shows the “First add a node” prompt above — add an MCP tool or Code Block first, then the Interface tab becomes editable.
Adding an interface
- Open the Add Node panel (top-right of the editor).
- Switch to the Interface tab.
- Click the Add Interface card.
The three views
An interface is a mini funnel with three pages. The control bar at the top of the Interface tab lets you switch between them while authoring:Form
What the user fills out to start the workflow.
Confirmation
Shown after submit while the workflow runs (or forever, for fire-and-forget).
Results
Renders the workflow’s designated output when the run completes.
Form view
The form is where users provide input. Fields you add here become the trigger’s input schema, so downstream nodes can reference{{trigger.<fieldName>}} anywhere.
Field types include:
- Text (single and multi-line)
- Number / Integer
- Email / URL
- Boolean (checkbox or toggle)
- Date / Datetime
- Select (single) and Multi-select from an enum
- File upload
- Object and Array for nested structures
Starting from a template
Click Choose a template to see a library of common form shapes — lead capture, feedback survey, bug report, document intake. Pick one as a starting point and edit from there.Confirmation view
After submit, the user lands on a confirmation/thank-you page while the workflow runs in the background. Customize the heading, body text, and optional “next steps” or call-to-action buttons. Useful for long-running workflows where you don’t want to block the user.Results view
The results view renders the workflow’s designated output — a specific node whose output becomes what users see. Designated output picker: Below the Interface tab is a control that asks “Which node’s output do users see?” Pick one of your workflow nodes — typically the last one, but it can be any node with a meaningful output. Results can render as:- Plain text / Markdown — for simple text answers.
- JSON — for structured data, collapsible tree view.
- Table — for arrays of objects.
- HTML — for custom-rendered output from a code block.
- Download link — for files produced by the workflow.
What users experience
When you release the workflow and make it publicly accessible, users get a URL that serves the interface:- They land on the Form page.
- They fill in the fields and submit.
- They see the Confirmation page while the workflow runs.
- When complete, they see the Results page rendering the designated output.
Editing the interface node
Clicking the Interface node on the canvas selects it and brings the Interface tab to the foreground. You can’t edit fields from the canvas itself — all authoring happens in the tab — but the node visualizes the connection between the interface trigger and the rest of your workflow.Removing an interface
Select the Interface node and pressBackspace or use the right-click Delete. The node disappears along with its configuration, freeing you to add a new interface with different fields or a different designated output.
What’s next
Editor tabs
The Interface tab is one of five tabs in the right pane — meet the others.
Triggers
Other ways to start a workflow if a form isn’t the right fit.
Releases
Publish the interface as a public-facing URL.
Running a workflow
Test the interface end-to-end.