The Agents tab in Pinkfish’s top navigation opens /agents — the home for every agent in your workspace. The page has two sub-tabs:
- My Agents — the inventory of every agent you can see or edit.
- Monitor — an org-wide feed of agent chats, for debugging and analytics.
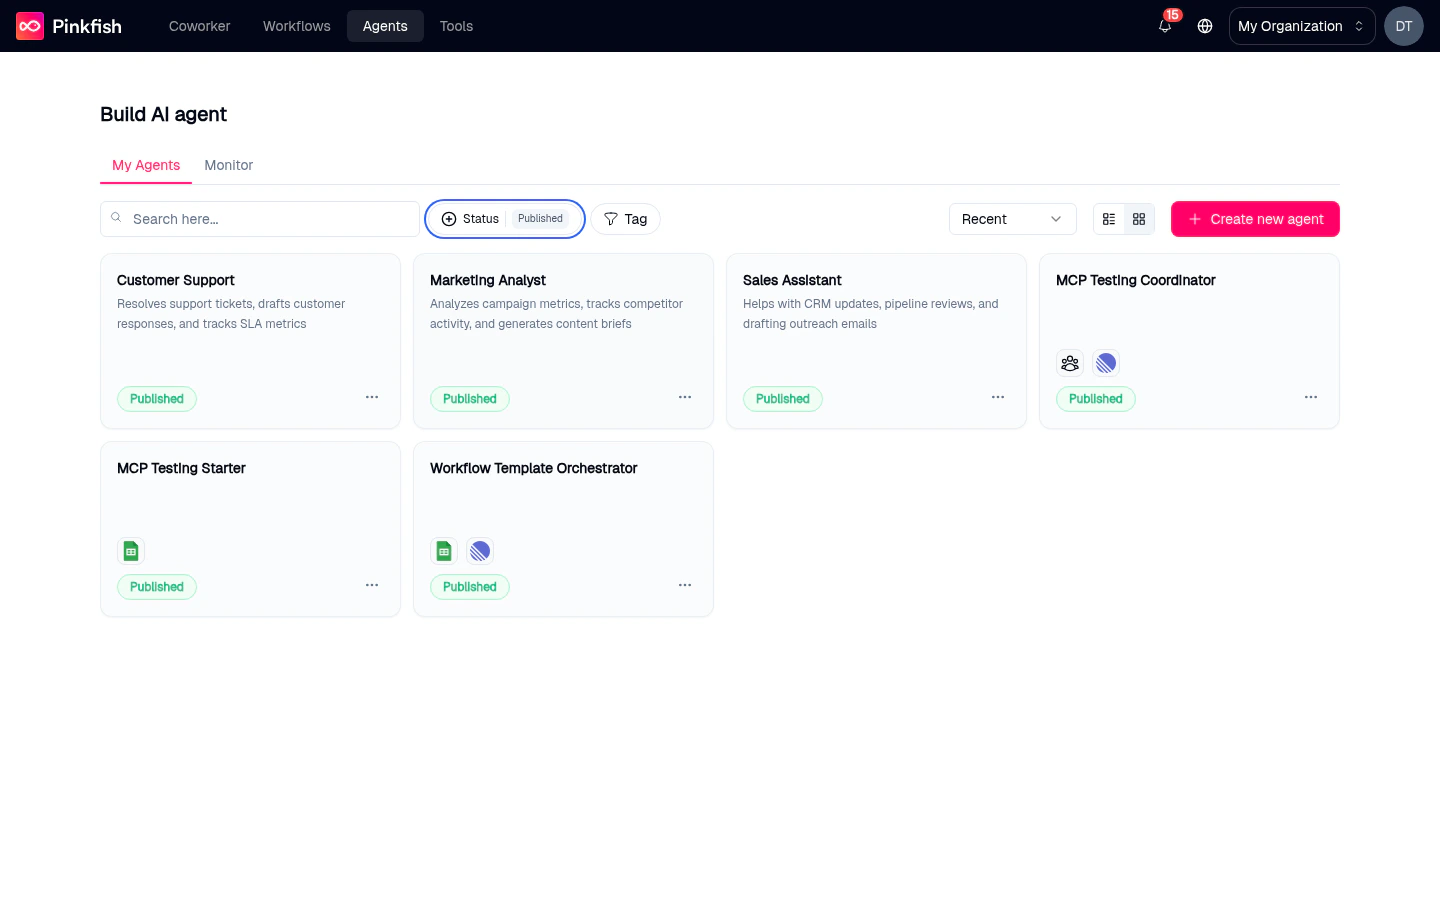
My Agents list
The list shows every agent you have permission to view. Each row gives you the essentials at a glance.
Columns
| Column | What it shows |
|---|
| Agent Name | The agent’s name and up to ~80 characters of description. A small “shared” icon appears on agents shared with other accounts. A globe icon appears on agents published as public. |
| Status | Published / Draft / Unpublished Changes. See Save & Release for the full model. |
| Tags | Up to one tag per row. A dash (—) means no tags. Click the tag filter to narrow the list. |
| Created By | Either Created by me, Created by anyone, or Not created by me. |
| Last Modified | When the agent was last saved. |
| Actions | The ⋯ menu described below. |
Filters, search, and views
- Search here… — free-text search over agent name, description, and creator name.
- Status — filter by Published, Draft, or Unpublished Changes.
- Tag — filter by any tag applied to agents.
- Recent / alphabetical — sort order (grid view only).
- Grid ↔ List — toggle the view in the top-right. Grid shows cards; list shows the table with a row-action
⋯ menu.
Creating a new agent
The pink Create new agent button in the top-right of the page takes you to /agents/builder/new. See Agent Builder for what happens next.
Status badges
The Status column uses three colored badges. They roll up the draft-vs-release state from the builder.

| Badge | Meaning |
|---|
| Published | The agent has at least one release and no un-saved changes beyond it. Available in Coworker. |
| Unpublished Changes | The agent has a release, but the latest draft differs from it. The release is still live; the draft will overtake it only after you click Release again. |
| Draft | The agent has never been released. Only you can use it from the builder preview. |
Row actions
In list view, click the ⋯ icon on any row to open a dropdown with:
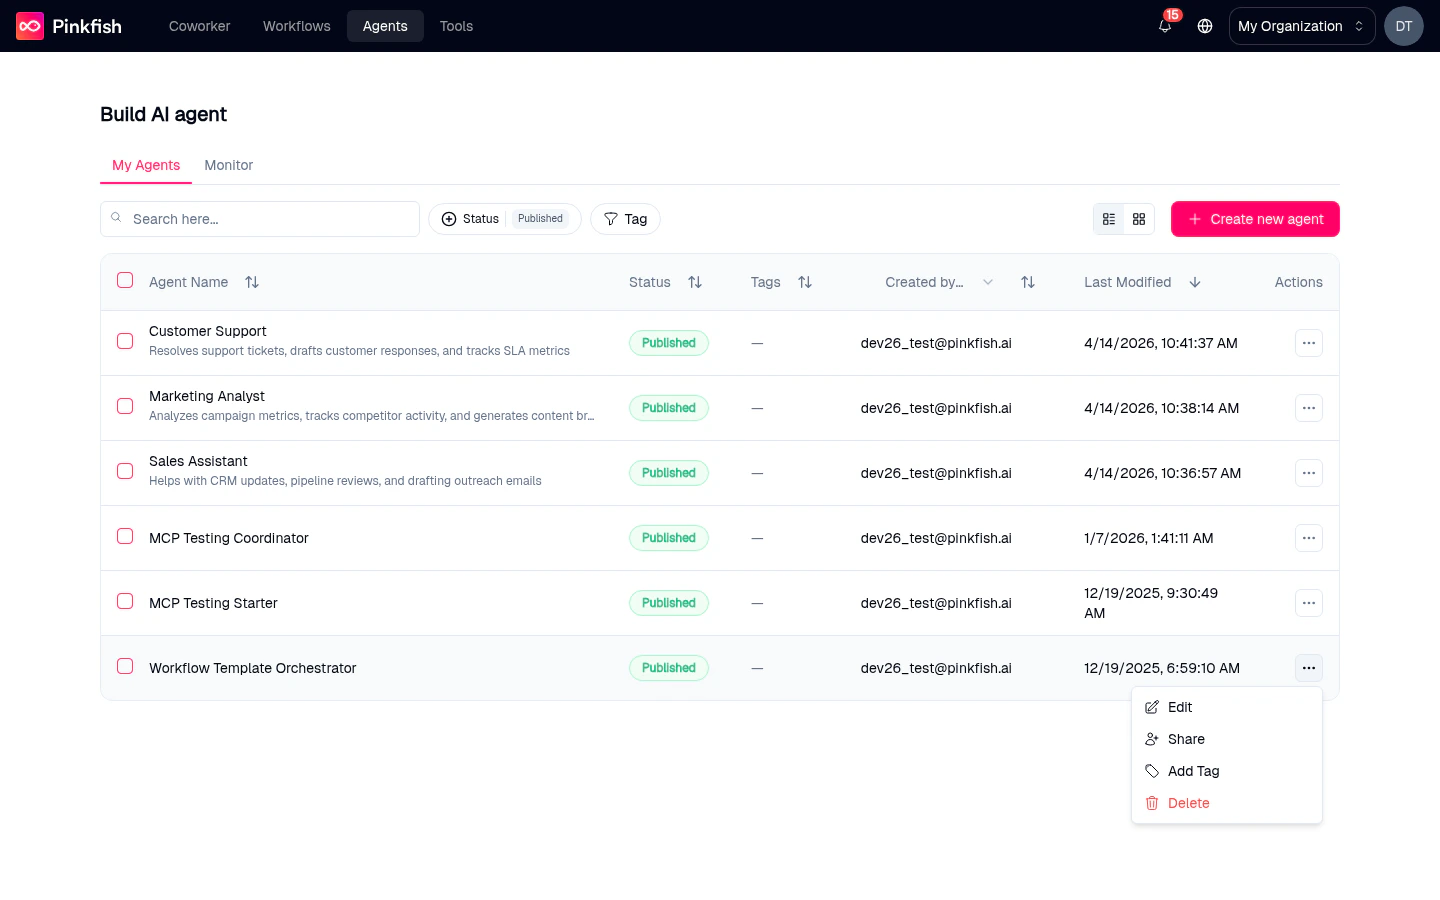
- Edit — open the agent in the builder.
- Share — open the Share Agent modal and pick the people, or your whole organization, who can use this agent. Chat lets them use it; Manage also lets them configure and share it. Sharing gives access to the agent; it does not share your OAuth connections.
- Add Tag — open the tag editor to add or remove tags.
- Delete — permanently delete the agent. A confirmation dialog asks “Are you sure you want to delete this agent?” before anything is removed.
For public agents, an additional Remove Public Agent entry appears — it takes the agent off the public catalog without deleting it.
You can’t rename an agent from this menu. Rename from the Instructions tab inside the builder.
Empty state
Before you’ve created any agent, the list is replaced with a welcome card:
“Create your first expert agent that you can interact with to get work done.”
It has a Create new agent button and a Watch: How to create an agent link.
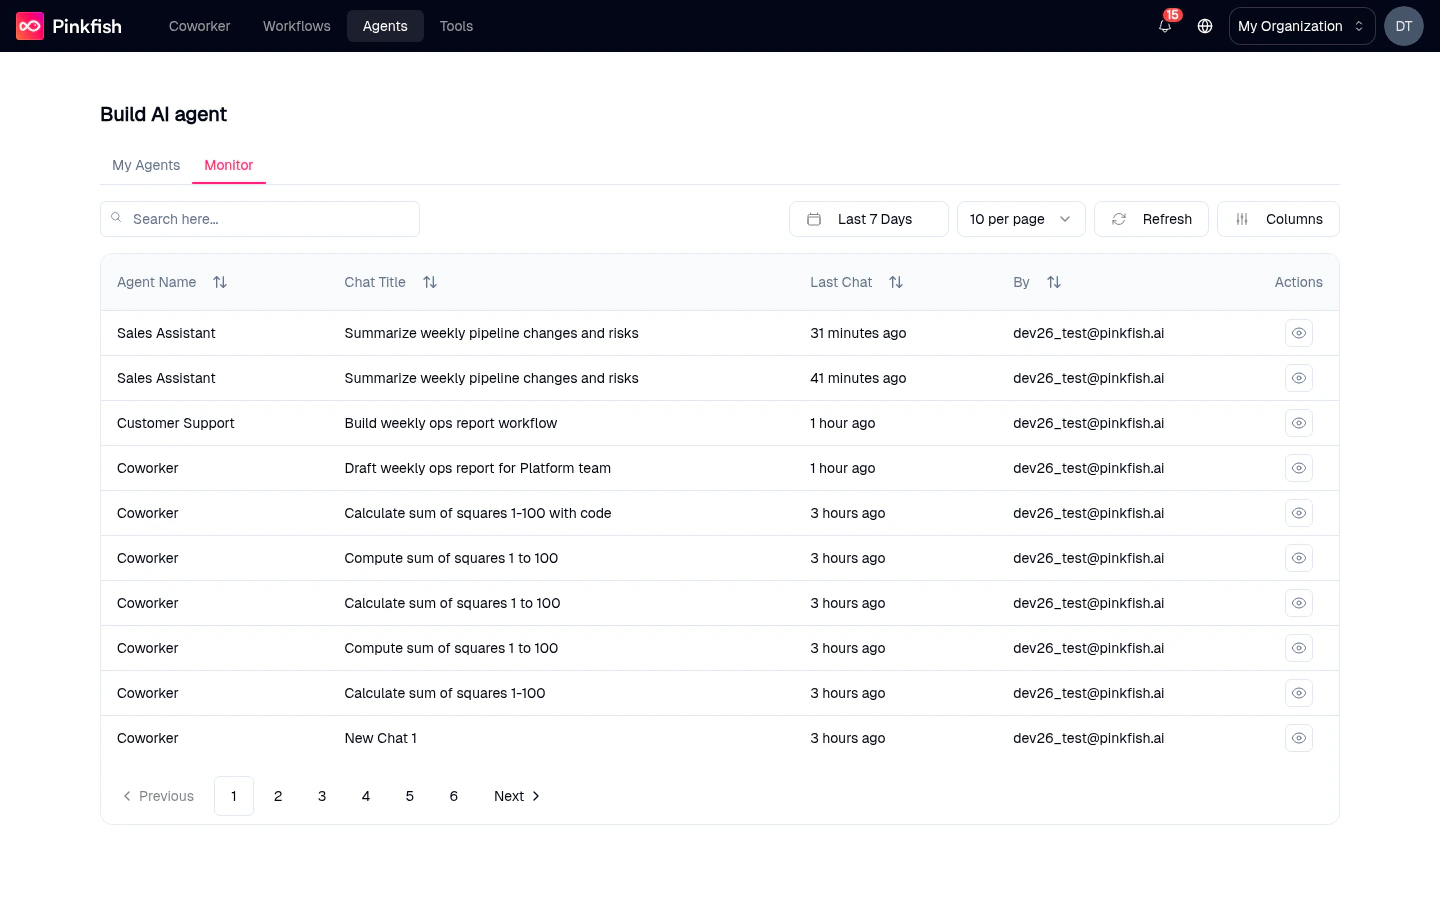
Monitor tab
The Monitor tab at the top of /agents is the org-wide agent chat feed. It’s identical to the standalone Agent Monitor page — the same data, opened through a different entry point.
 Use it to:
- See every chat across every agent in your org for the last 7 days (customizable).
- Search by agent name, chat title, or user.
- Click a row to drill into the full conversation.
- Toggle which columns to show.
For an agent-scoped version that only shows the current agent’s chats, use the Monitor tab inside the builder — see Monitor.
Keyboard tips
/ focuses the Search here… input on the list page.- Pressing Esc closes any open filter dropdown or confirmation.