/agents/builder/new).
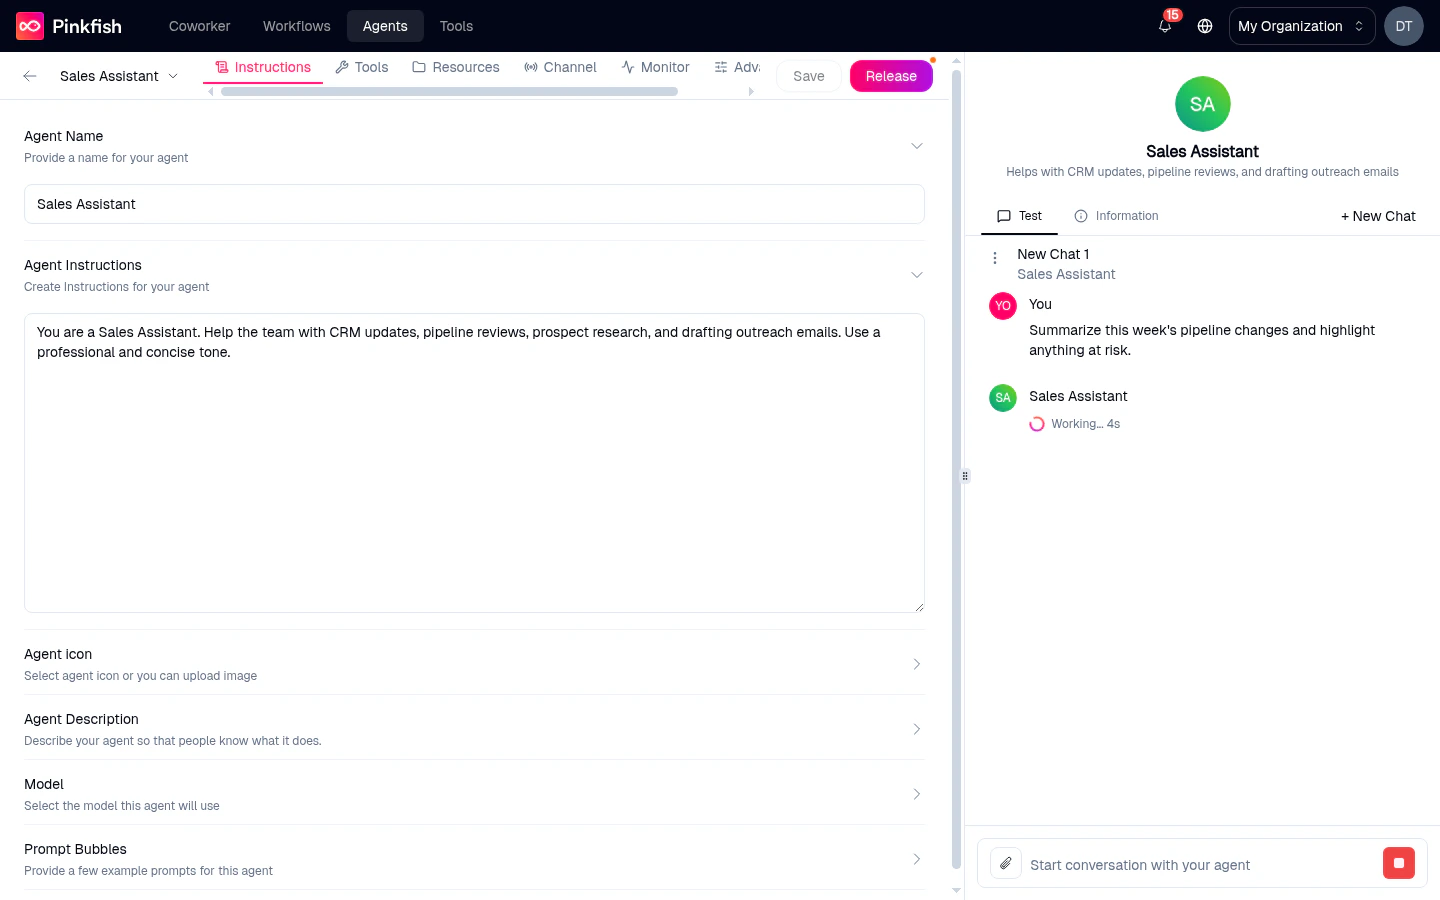
- Top bar — a full-width header spanning both panes: back arrow, agent name (with quick actions), tab strip, Builder toggle, Save and Release buttons.
- Editor panel (left) — the configuration surface for the active tab. You can have up to six tabs pinned at once.
- Preview pane (right) — a live chat against your draft, or an Information view of the agent’s current config.
The top bar
From left to right:- ← Back arrow — returns you to
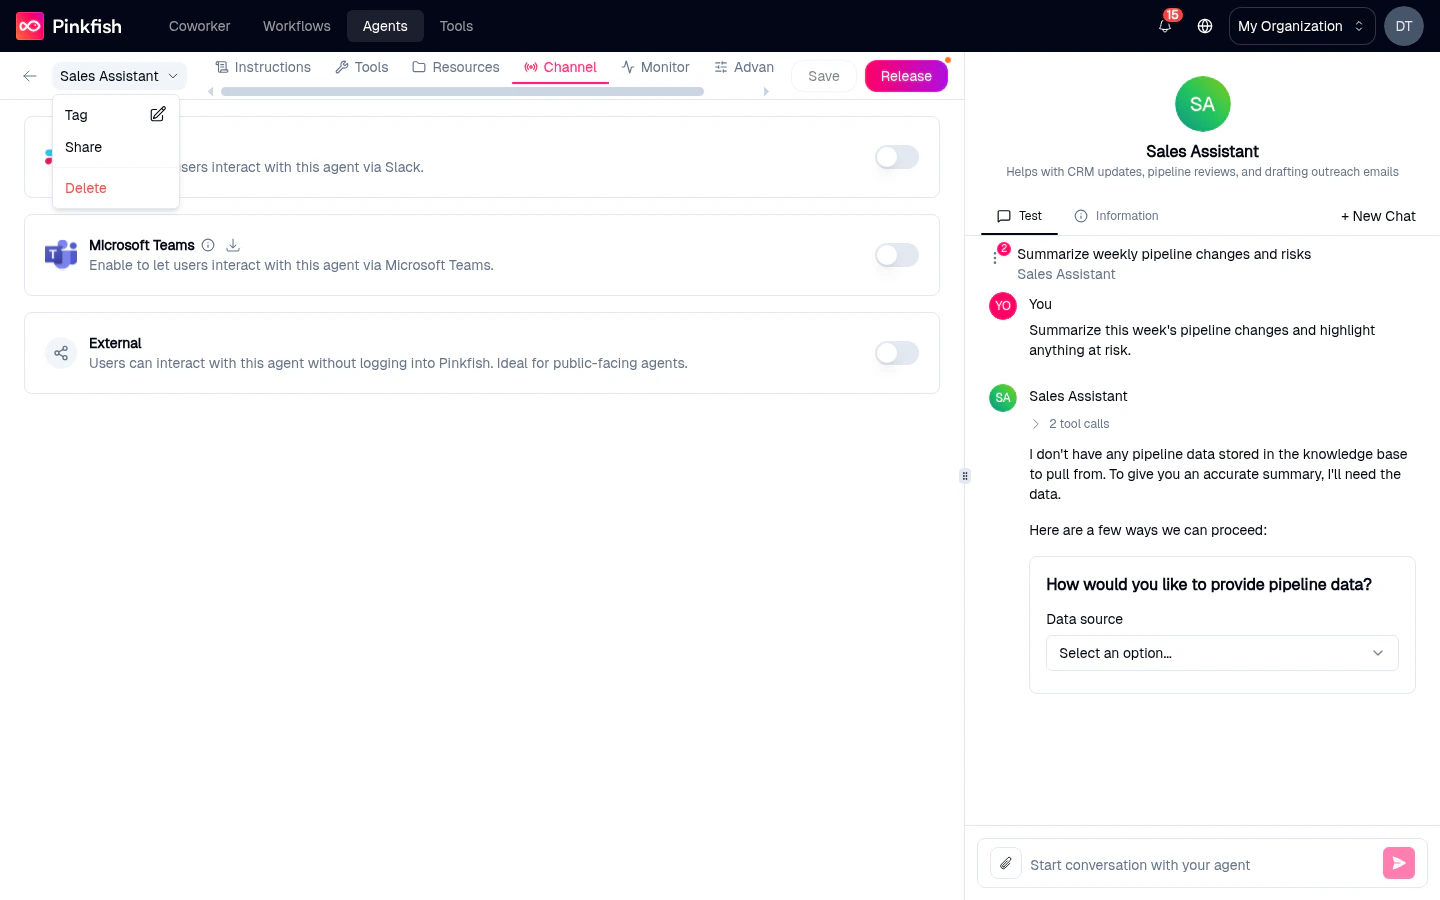
/agents. - Agent name — click the chevron next to the name to open a small menu with Tag, Share, and Delete actions. Edit the name itself from the Instructions tab.
- Tabs — a horizontal strip of the sections you’ve pinned. See below.
- Builder (only on agents you can edit) — toggles the Agent Builder chat panel open alongside the editor. Use it to describe changes in natural language and let the AI apply them for you.
- Save — writes the current form values as a new draft version. Disabled when nothing has changed and on brand-new agents until required fields are filled.
- Release — opens the Publish dropdown. See Save & Release.
Some buttons fire “Please save the agent before [action]” toasts when you try to Tag, Share, or Delete a brand-new agent that hasn’t been saved yet.
The six tabs

Instructions
Name, icon, description, system prompt, model, prompt bubbles. Always pinned — you can’t remove it.
Tools
MCP connections, embedded services, agents-as-tools, workflows-as-tools.
Resources
Datastores, filestores, knowledge bases with Read / Write / Admin permissions.
Channels
Slack, Microsoft Teams, Email, API, A2A.
Monitor
Replay this agent’s chats from inside the builder.
Advanced
Output Schema — structured JSON responses for API callers.
Pinning tabs
Only Instructions and Tools are pinned by default. Click the + at the end of the tab strip to pin Resources, Channels, Monitor, or Advanced. Pinned tabs persist across sessions. If a tab has validation errors, its label turns red.The Channels and Advanced tabs are hidden for Pinkfish’s built-in system agents.
The preview pane
The right side of the builder is a live sandbox against your current draft. It has two tabs:Test
The default view — a chat interface connected to the draft you’re editing. Type a message, watch the agent respond with the current instructions, model, and tools. This is where you validate changes before releasing.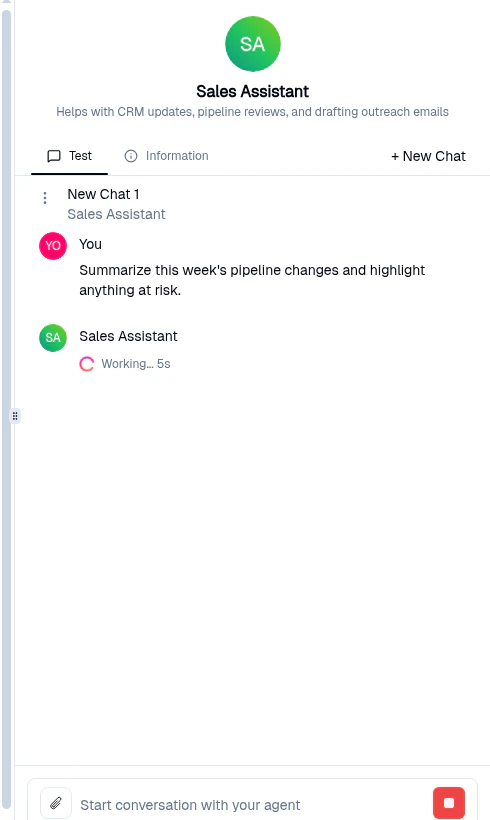
“Save the agent first, then start a conversation to test it here.”Click + New Chat to clear the preview and start fresh — useful when you’ve changed instructions and want to see behavior from a clean starting point.
Information
The Information tab is a read-only summary of what the agent will actually do when invoked.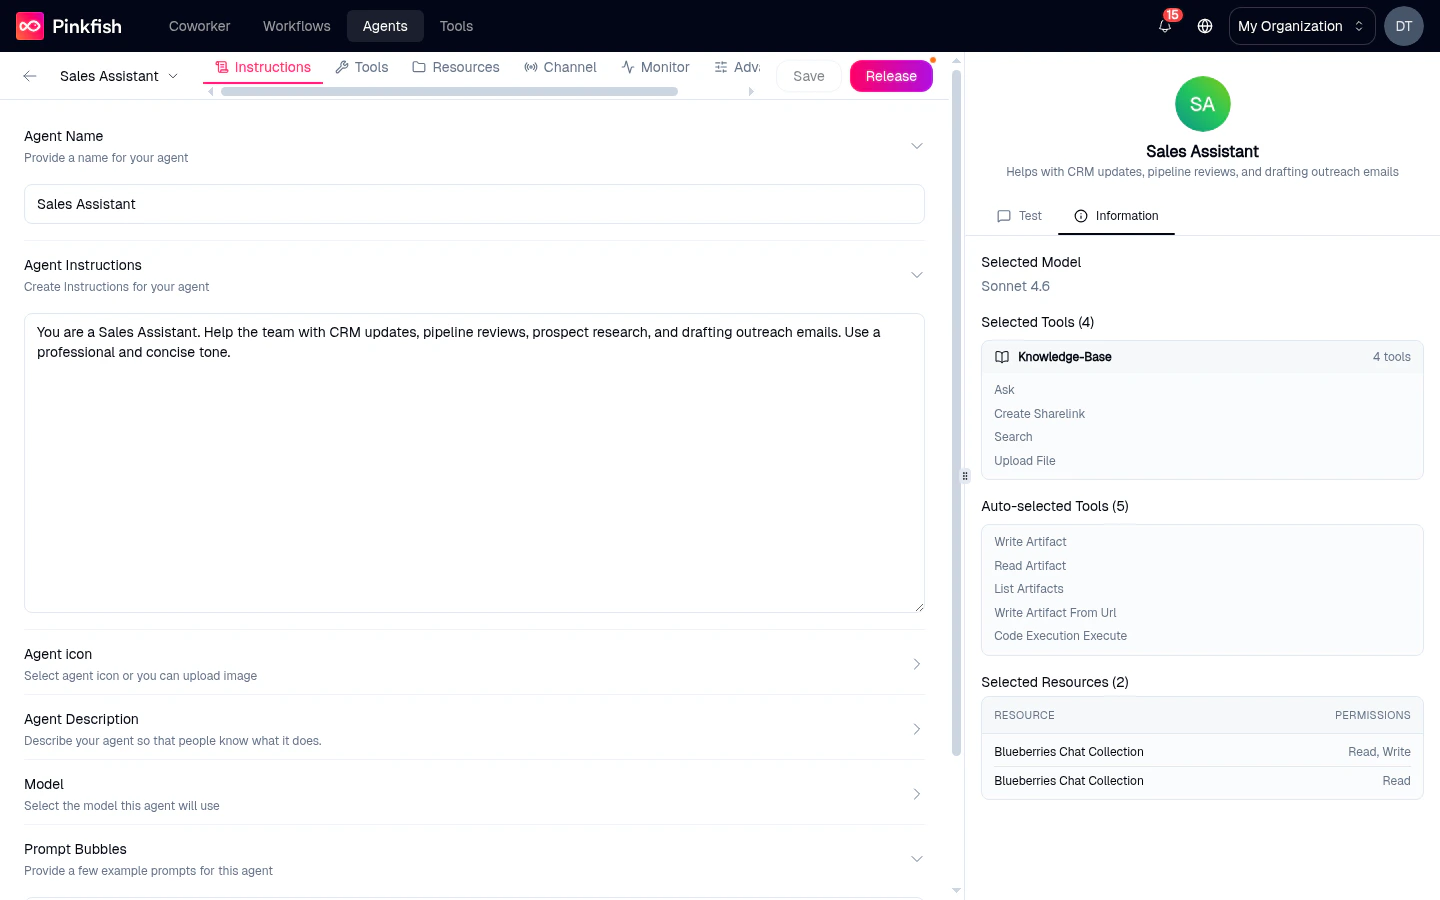
- Selected Model — the model label (e.g.
Sonnet 4.5). - Selected Tools (N) — tools you picked, grouped by server. Shows
All X toolswhen you’ve selected a server wholesale, or the exact tool names when you picked a subset. Expand rows with more than five tools via +N more. - Auto-selected Tools — built-in tools that every agent gets automatically (e.g. Write Artifact, Read Artifact, Run Code). These can’t be turned off.
- Selected Resources (N) — attached datastores/filestores/KBs with a Read / Write / Admin summary.
The full workflow
Open or create
Click a row in My Agents, or click Create new agent to land on
/agents/builder/new.Fill the Instructions tab
Name, instructions, icon, description, model. These are the minimum to save.
Pin the other tabs as needed
Click + to add Resources, Channels, Monitor, or Advanced. Configure each.
Iterate in Preview
Chat with the draft. Check the Information tab to confirm model, tools, and resources look right.
Related
- Save & Release — what Save vs Release actually does.
- Instructions — the first tab in detail.
- Monitor — the in-builder monitor, not the org-wide one.