Opening the panel
Click the Add Node button in the top-right of the editor header. A side-panel slides in from the right with three tabs: Nodes, Triggers, and Interface.The three tabs
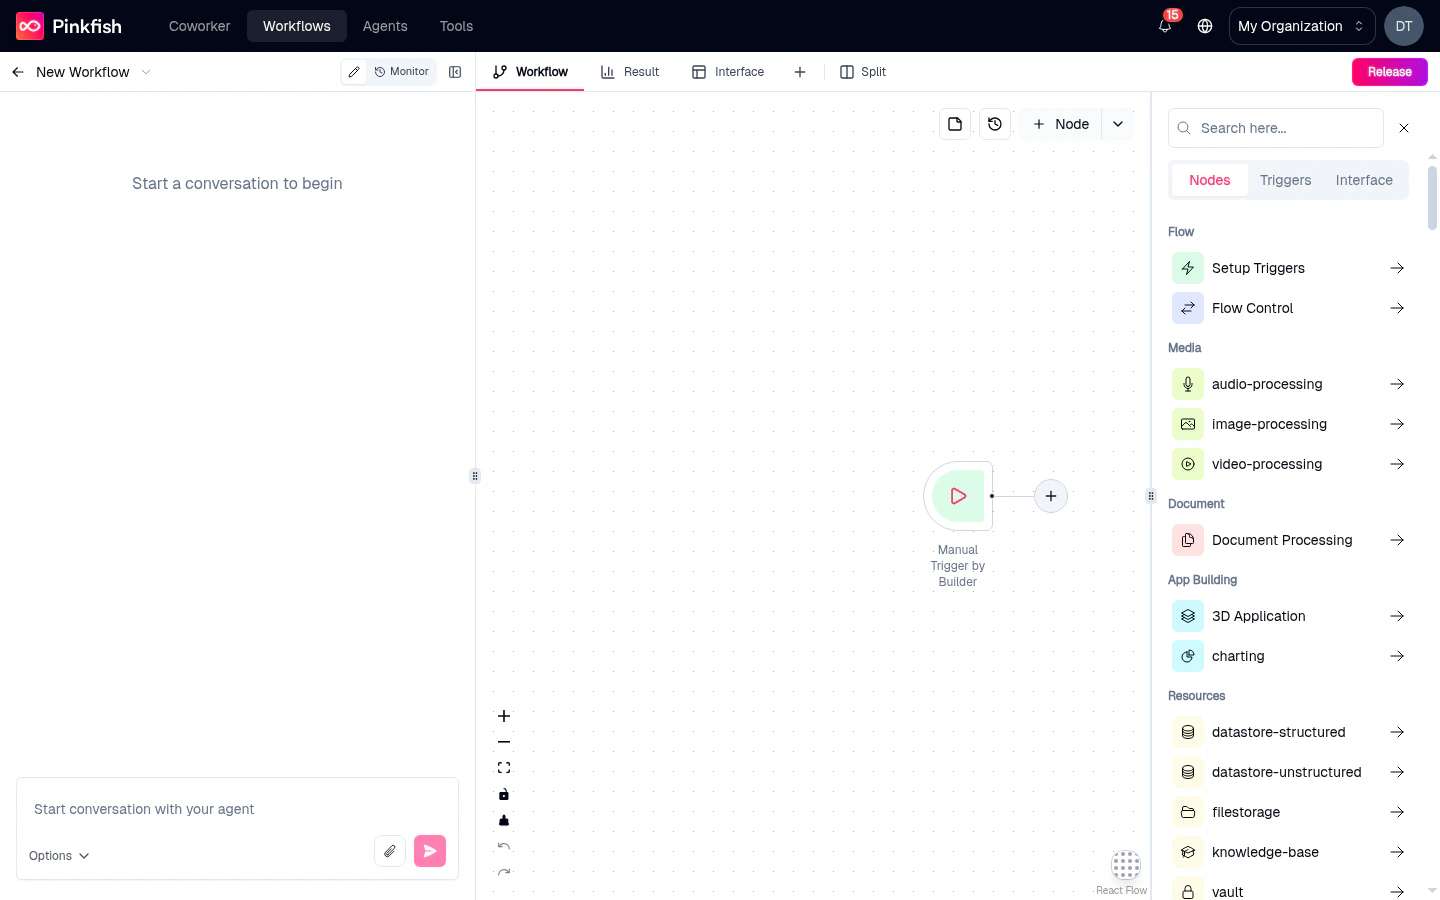
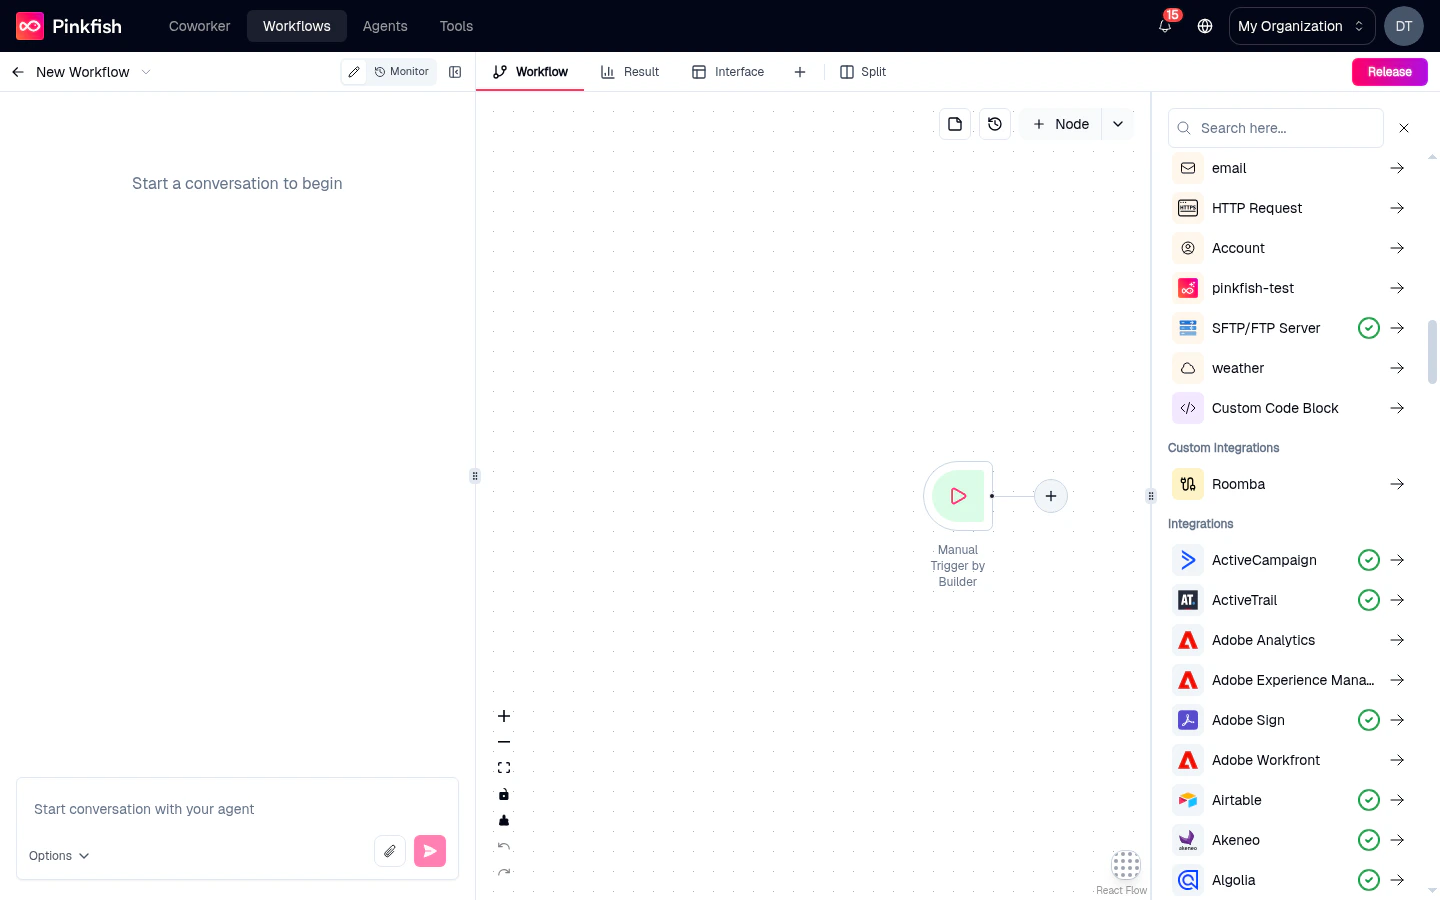
Nodes
Executable nodes — MCP tools, code blocks, agents, sub-workflows, flow-control.
Triggers
Entry points — manual, API, schedule, email, app triggers, events.
Interface
The single user-facing form/results page for your workflow.
Nodes tab
The Nodes tab (titled Elements inside the panel — “Elements are the building blocks of your workflow”) presents a two-column grid of categories. Click a category to drill into its contents; click the back arrow in the header to pop up. Top-level categories you’ll see:| Category | What’s in it |
|---|---|
| Media | Audio, video, and image-processing MCPs |
| Document | PDF, Office, and general document tooling |
| App Building | Artifact and web-application tools |
| Resources | Vault, Filestore, Knowledge Base, Datastore |
| Agents & Workflows | Call another Pinkfish agent or sub-workflow |
| Browser & Web | Browser automation, scraping, HTTP utilities |
| Embedded LLMs | Direct LLM calls — Anthropic, OpenAI, Gemini, Groq, Perplexity |
| Bring your own LLM | Use your own LLM credentials |
| Database | Structured and unstructured datastore MCPs |
| Others | Email, weather, charting, miscellaneous tooling |
| Custom Integrations | Pink-Connect integrations you or your org built |
| Integrations | First-class third-party apps via MCP servers |
- Setup Triggers — a shortcut to the Triggers tab.
- Flow Control — opens the flow-control picker (If-Else, Router, Merge, For Each, Delay, Loop, While, Parallel, Approval).
Triggers tab
The Triggers tab (“Triggers are the events that trigger your workflow”) lists every way a workflow can start — Manual, API, Email, Schedule, App triggers, Events. See the Triggers reference for a full breakdown of each type.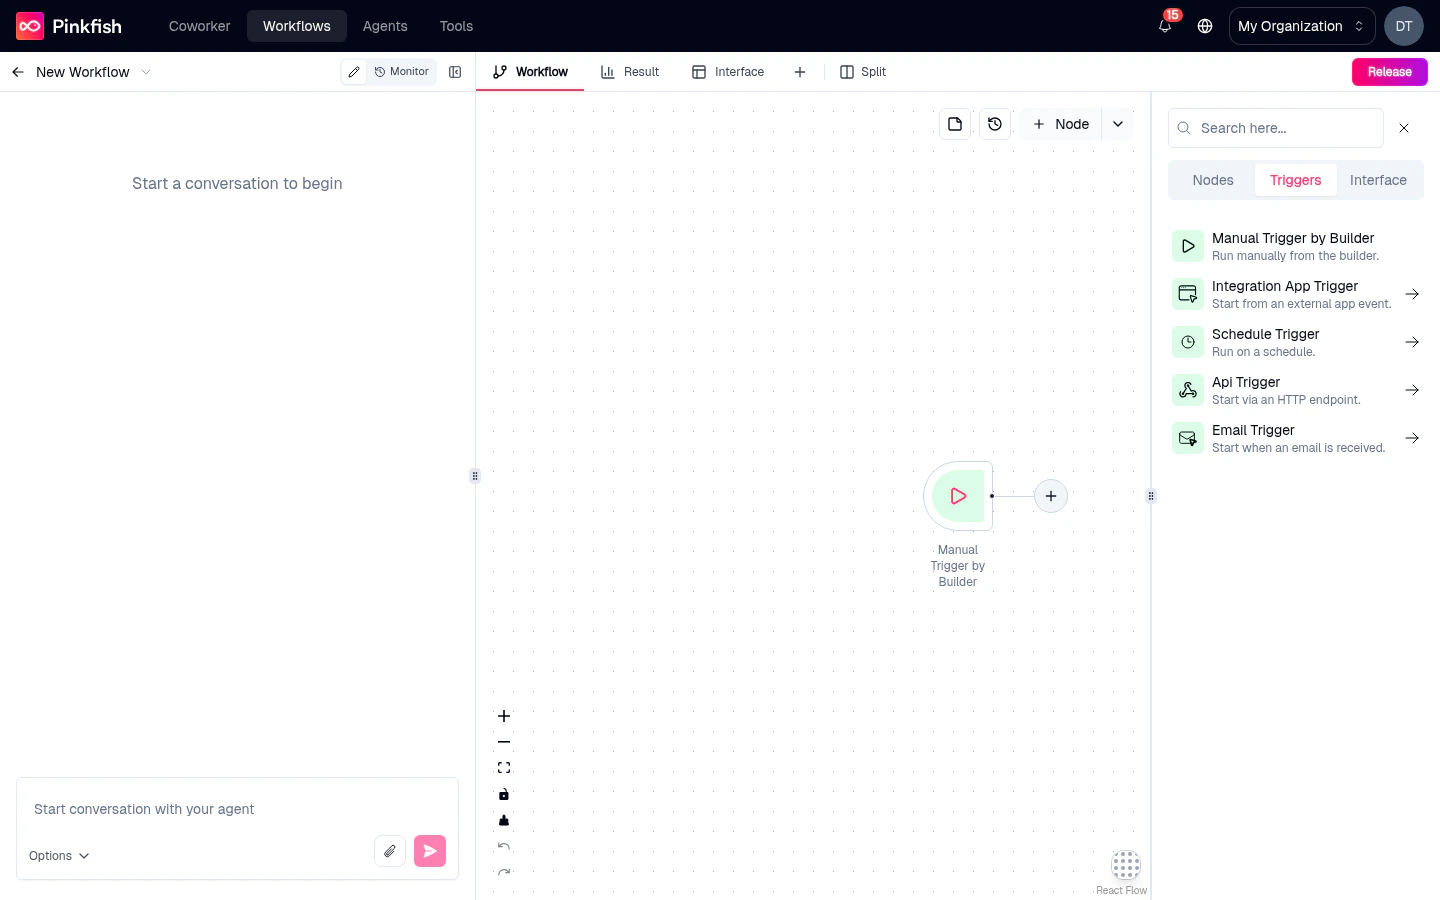
Interface tab
The Interface tab (“Configure user-facing interfaces for your workflow”) holds a single card: Add Interface. Clicking it creates the Interface node and opens the Interface builder in the right pane.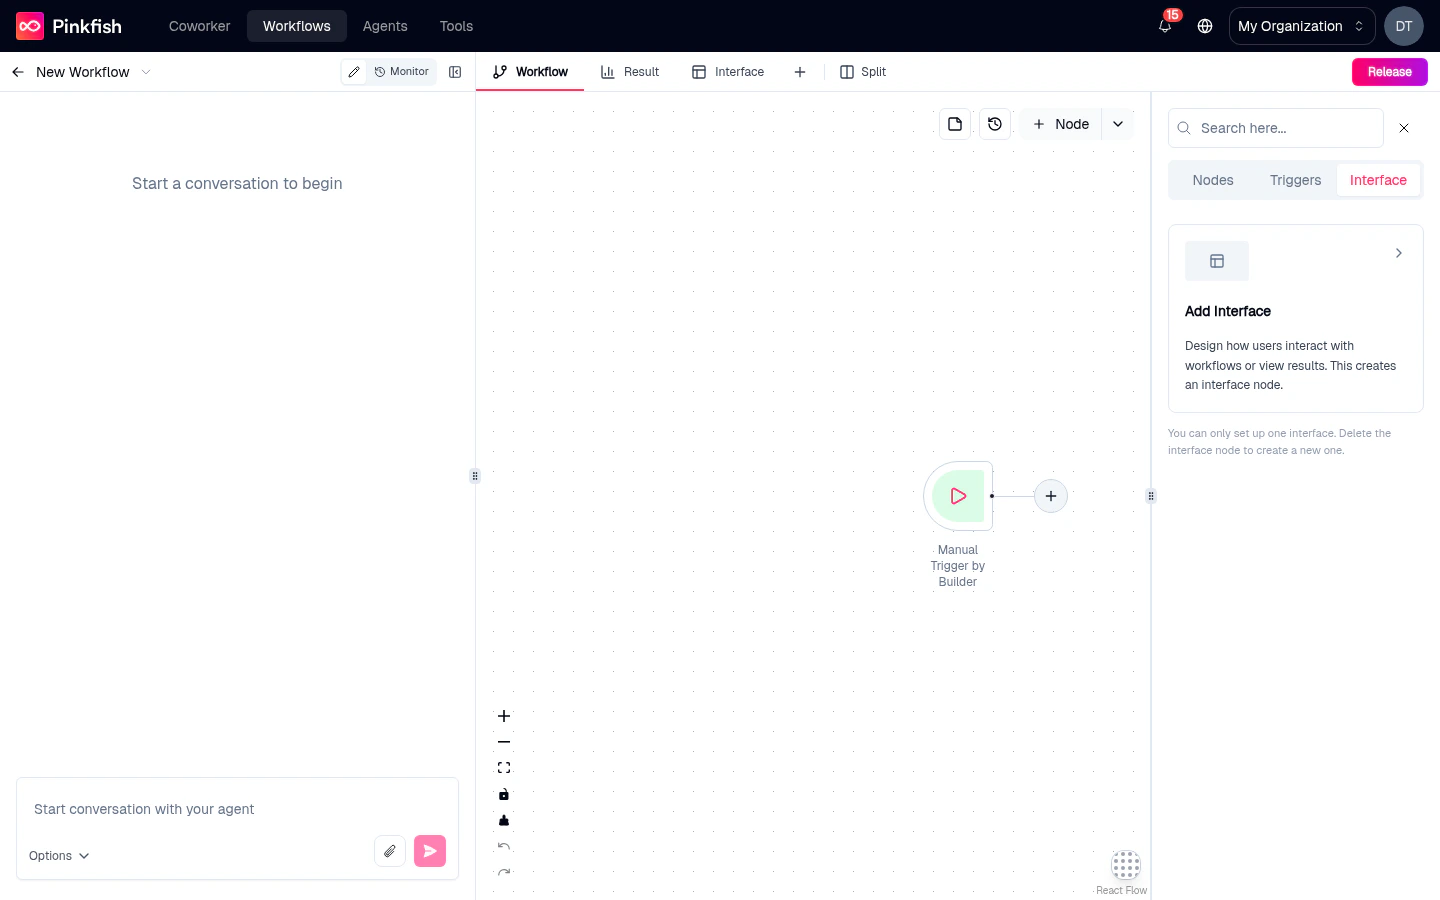
Searching
The search field at the top of the panel filters across all categories and tabs. Typeslack and you’ll see Slack triggers, Slack tools, and Slack-referring skills all collapsed into one list.
Drilling into a category
Categories nest a few levels deep:- Click a category — e.g. Integrations.
- Pick an app — e.g. Salesforce.
- Pick an action — e.g. Create Lead or Search Contacts.
Placing the node
When you select a leaf entry (an app action, flow-control node, or code block), the panel closes and the node is dropped onto the canvas — typically to the right of your most recently selected node. Drag it wherever you want; connect its input handle to an existing node’s output to wire it in.What’s next
Node types reference
Deep dive on every node type and its settings.
Triggers reference
Start your workflow with a trigger.
Interface builder
Build user-facing forms and result pages.
Canvas basics
Arrange and connect the nodes you’ve added.